Light painting is a photographic technique where you use a simple light source, such as a small flashlight, to
illuminate the subject or areas of the subject. This is all done using a long exposure setting on your camera in a very dark room. This technique is easier to explain than to master, but with a lot of practice and patience, you can create something quite magical.
illuminate the subject or areas of the subject. This is all done using a long exposure setting on your camera in a very dark room. This technique is easier to explain than to master, but with a lot of practice and patience, you can create something quite magical.
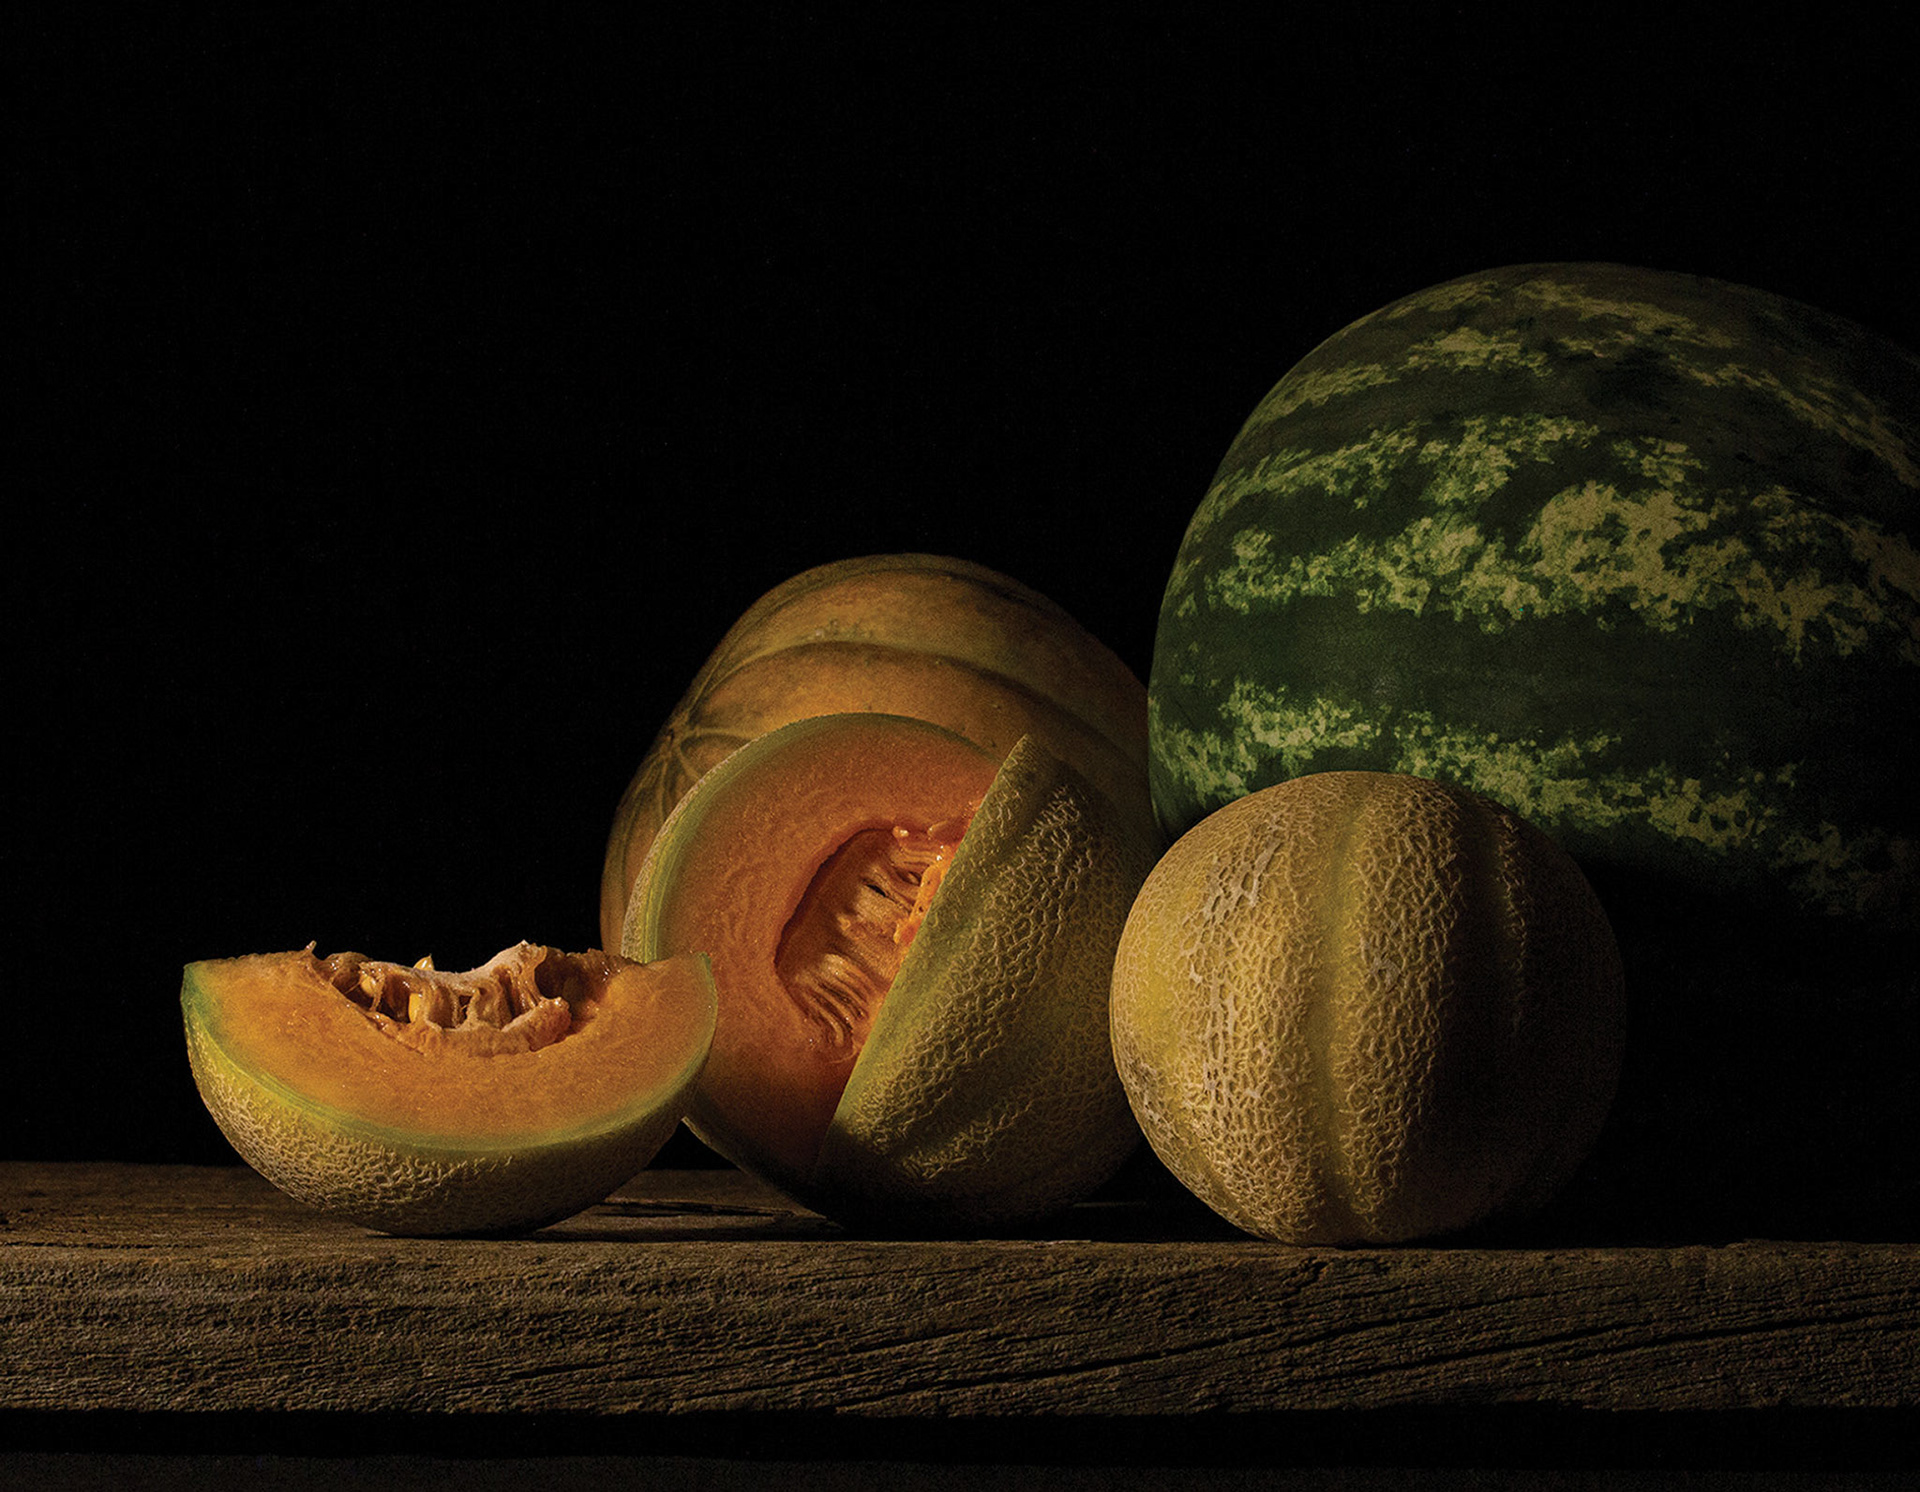
With the camera set to a long exposure (in a very dark room) you use a single light source, to “paint” the subject or scene with the light. You can emphasize the portions of the scene you want to bring out, leaving in shadow those you want subdued. This style of still-life photography often resembles the paintings of the Dutch Masters
Control
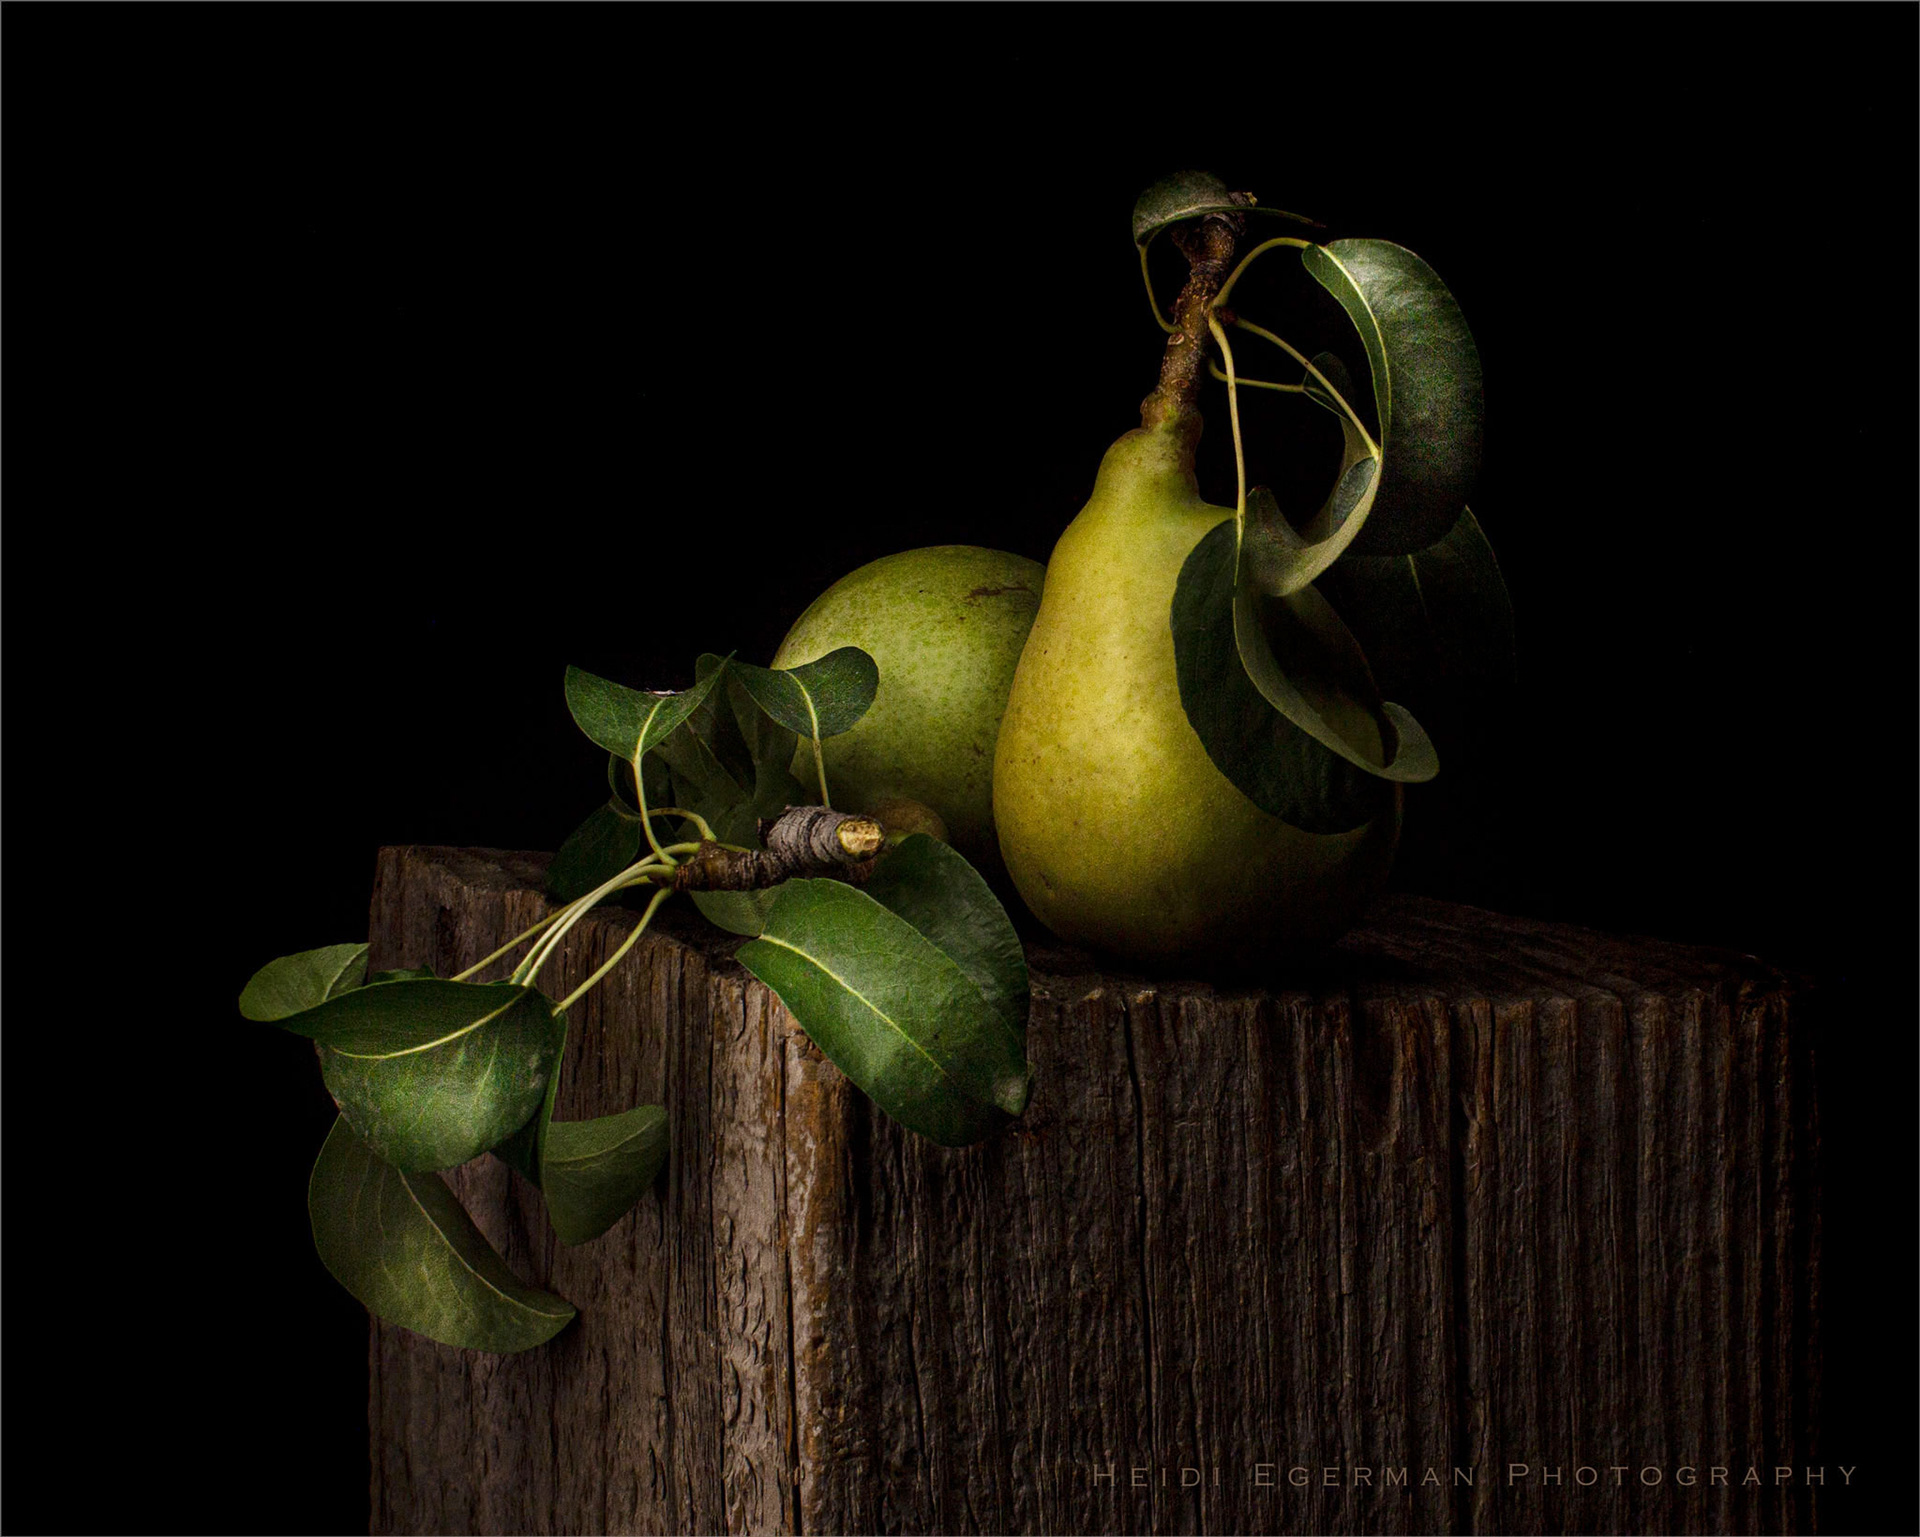
As the photographer, you control where you place the light on your subject. Although it is possible to simulate conventional lighting, you can do so much more with light painting. You achieve this by aiming the small light source to the areas you want more light, leaving other areas in the shadows. By controlling the direction or angle of the light with deliberate hand movements, you can enhance the shape and texture of an object. You control the exposure to specific areas of your subject by increasing or decreasing the time and distance from the subject.
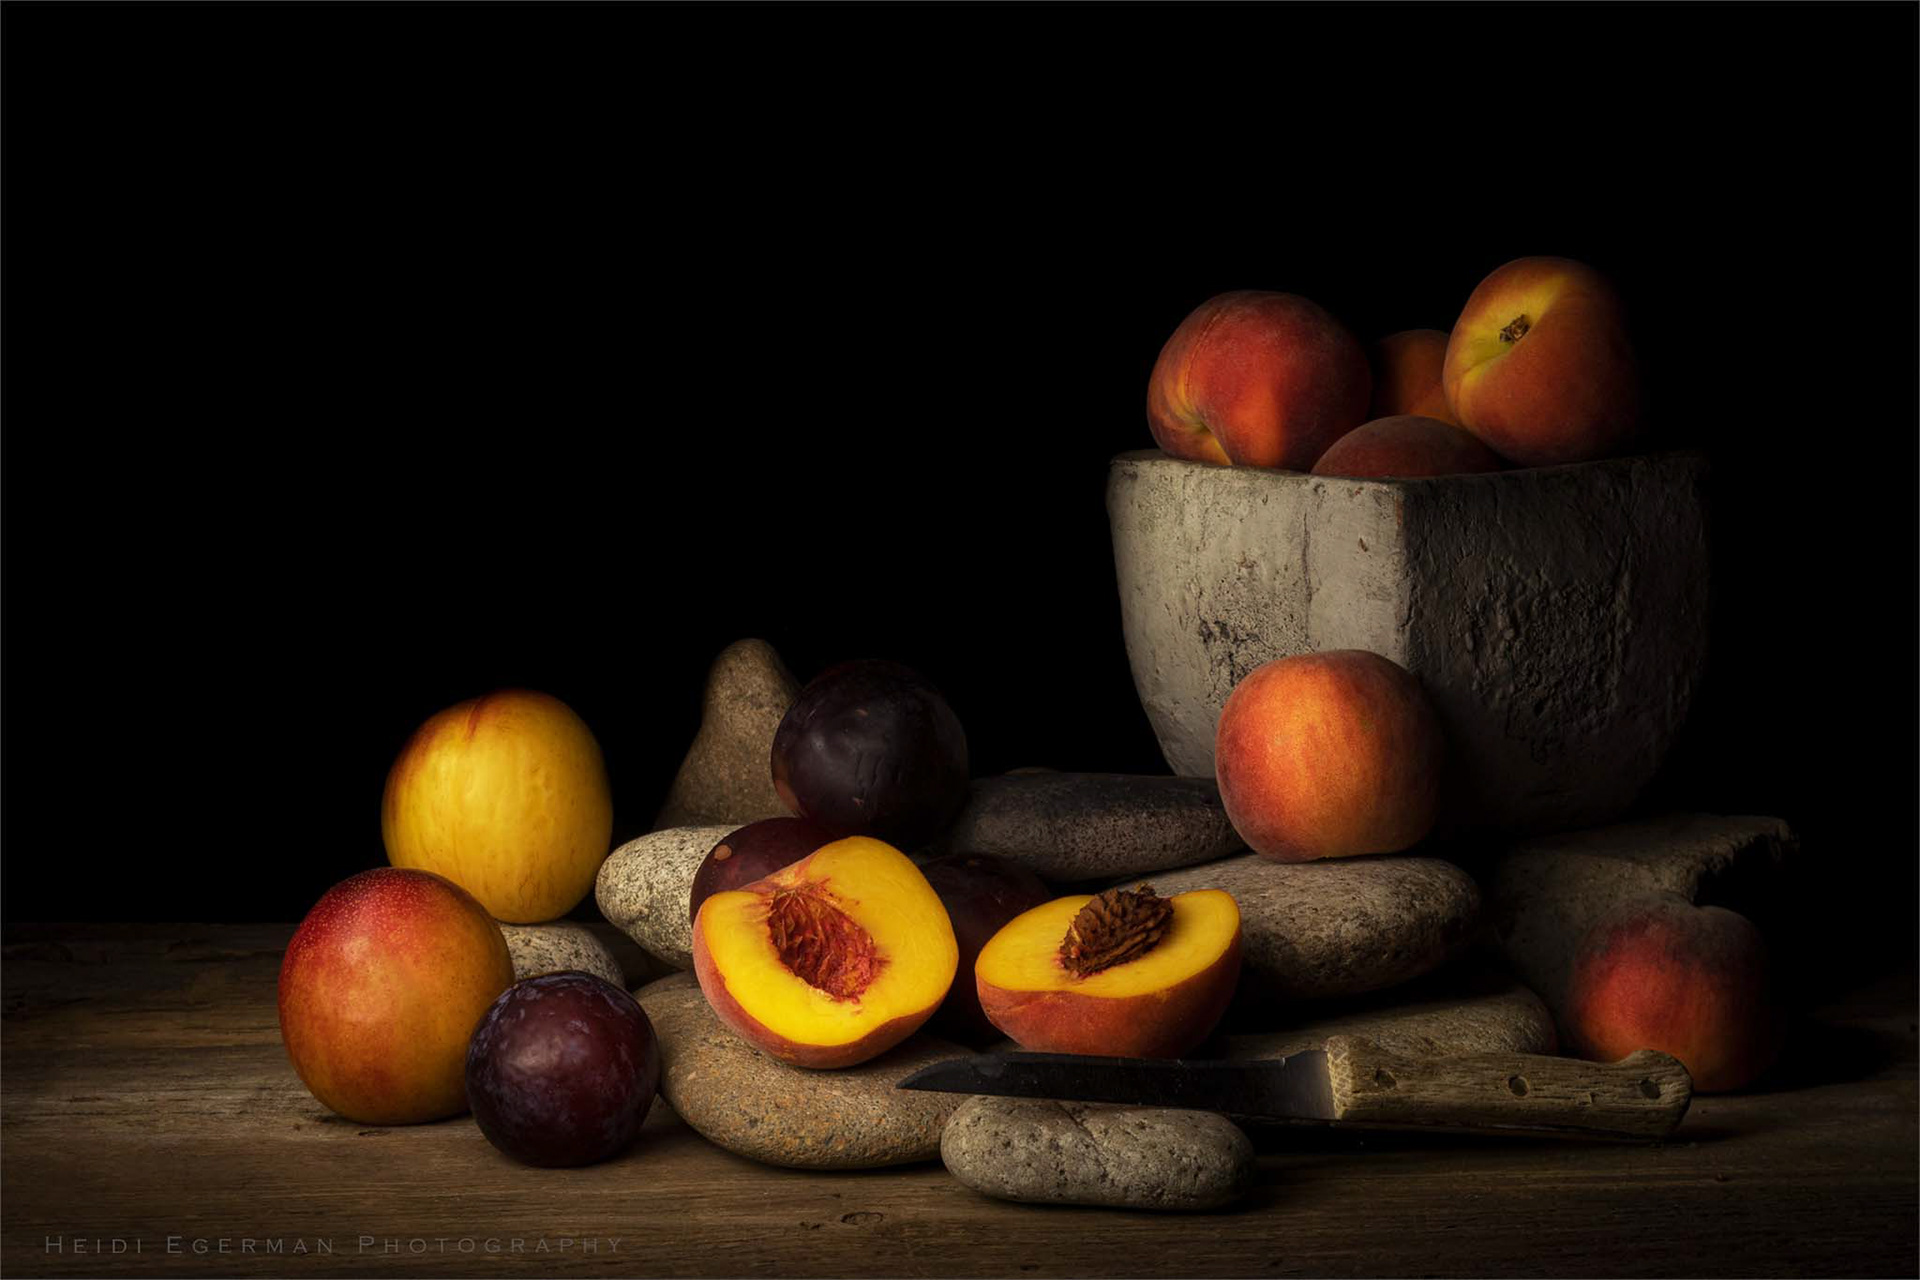
Enhanced Color Saturation. Increased Texture. Softened Shadows.
You will get enhanced saturation and increased texture without the hard shadows you can get with stationary lights. The angle of the light will also affect texture and dimension. Moving a smaller light source around your subject gives you a soft transition between the highlights and shadows. You can also add more texture to your images by using a hand movement called ‘raking.’ Harold Ross coined this phrase and demonstrated it in his online video using a light wand he developed. Experiment with various movements to create different effects. Move your hand in small circles or move the light closer and further from the subject. Try lighting from the side or raking the light across the subject.
Flashlights, Diffusers & Snoots
Flashlights with adjustable brightness levels are especially useful and perform well. A diffuser is essential since a flashlight can give you very harsh light. They are easy to find online, and even easier to make yourself. If your flashlight does not have a narrow beam, you can make a small snoot out of paper and Gaffer tape that fits over your flashlight. This will help control the direction and radius of the light beam and reduce light spill. Cover the end with a paper towel or light fabric to diffuse a strong beam of light.
My favorite diffuser is a rubber cane tip with a hole drilled in it that works as a snoot to help direct the light. This slides over the end of my Zanflare adjustable flashlight. I wrap the end with a few layers of lightweight packing film, tissue or a used dryer sheet secured with a rubber band. I can add and remove layers depending on the amount of diffusion required. Experiment with flashlights, diffusers and snoots until you find a solution that works for you.
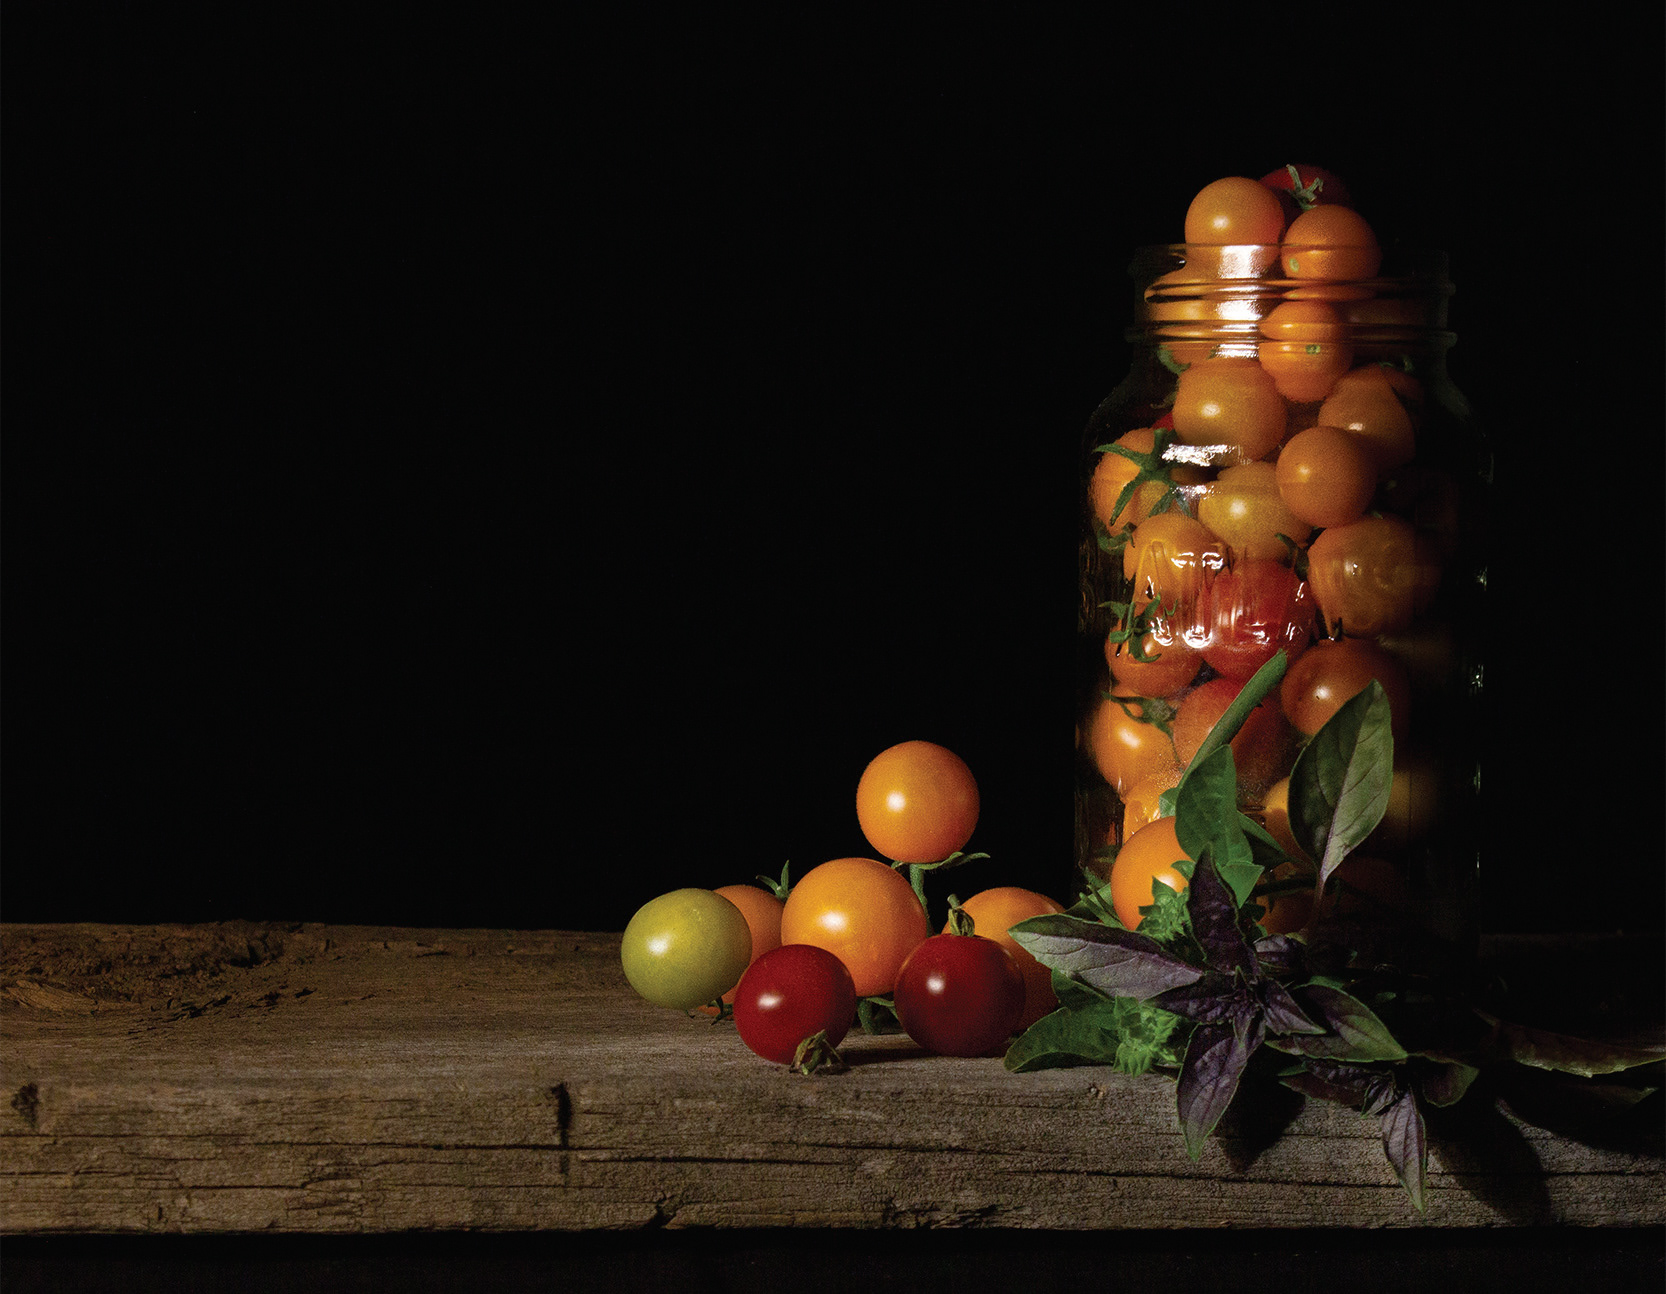
Give it a Try
Light Painting is challenging and takes a bit of practice. But it is extremely rewarding and can produce some impressive results. I hope this article has inspired you to try it and that you can develop a unique style that you can call your own. This is a wonderful time of year for some in-studio photography.
For more information, see article 'Shots in the Dark, Light Painting Tutorial.pdf'